Sandstone patio – install, seal and maintain

Here is advice to save money without affecting what you end up with. In short: your patio is going to end up looking like it was going to end up. Many tradespeople have a photo portfolio of new patios which indeed shows ability. What would also be useful is a glimpse of how your choice will look years down the line – choose your materials with this in mind.
Choosing the type of sandstone
If you’re going through the slow process of choosing a particular stone I suggest that you choose sandstone and get on with the job. If you avoid the distraction of other materials (travertine, slate, granite and so on) you’ll be using your patio a lot sooner! A prime consideration is whether vehicles will drive onto the stuff. A second point is whether you want some other material at the edges. Finally consider the colour, the finish and the pattern.
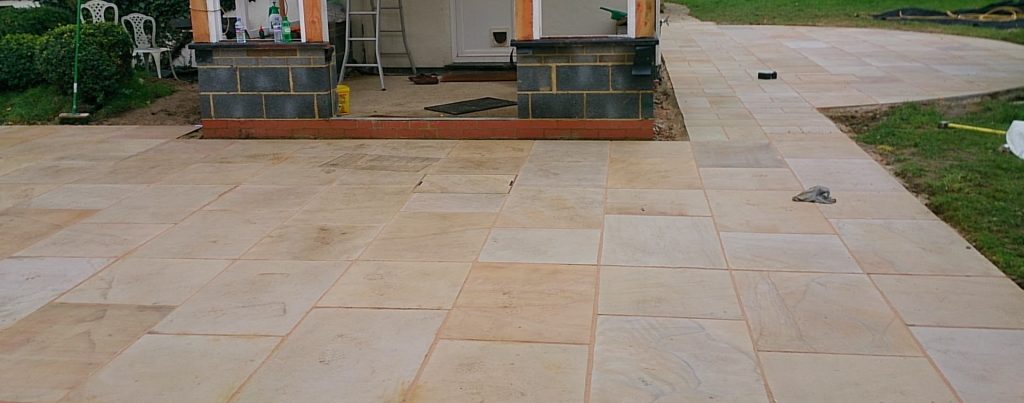
Sandstone is great stuff. It comes in riven or rough finish or a honed smooth finish. The smooth stuff may deliver in more consistent dimensions which will help when it comes to laying. My only regret is about the laying pattern I chose: it wasn’t a good idea to have long continuous lines as you see above because imperfections in the laying will show. I chose to buy from a direct supplier who added a delivery charge of £236, but in the end the price per metre was competitive:
8 x Honed Mint Paving – 15.5m2 per pallet – 4 size mixed pack £3,163.68 = £26 per metre (2013)

Laying
Prepare for a lot a building materials to be brought on site. The ground must be scraped out and levelled to suit your finished height. Hard core covers the earth to provide an unshifting base. Huge amounts of sand and cement must be mixed to ensure that each tile is supported with a continuous bed of mortar. Using dabs of mortar instead will lead to future issues. Nuf said, I leave this to professionals. We chose a tradesman who had the stamina to do a big job without shortcuts. The bill for the work came to £75 per metre which was on the high side – however included was a soakaway, new channels for house roof drainage and relocated sewage manhole,


Grout for Sandstone paving
There’s a choice of material on what goes in between the tiles. Whatever colour you choose it will in time turn black – so I’d not fuss so much on the initial shade. In retrospect I wouldn’t have used ‘Sika Fastfix All Weather – Patio Jointing Compound‘. The 100m of patio required not 5 tubs at £30 a tub but 10. The process wasn’t especially fast and by year two ants were creating holes and needing it to be topped up (which was fortunately easy to do yourself). Wickes and other suppliers do their own brands. This grout is not strong, it’s merely a cosmetic cover over the gaps between the paving slabs.
Having patched the grout year on year, by scraping out the grout and filling with the proprietary stuff, I changed my approach. I now clean the gap, slightly overfill with dry ready-mixed sand/cement and dampen this to make it set.
Sealer for Sandstone Paving
There are too many sealants to choose from. I didn’t want the colour darkened nor did I want a glossy finish. I chose ‘Cementone Stone Sealer Natural at £75 for 5L. I needed 15L for 100m2 and for a brief while it had a nice wax-like effect in repelling rain. But that effect lasted a year. On another patio I used ‘No Nonsense Path, Patio & Driveway Sealer at £14 for 5L and it was just as effective. In other words, I concluded there’s not much point in sealing it as the sealant doesn’t keep it clean for long. The patio will develop some stains regardless of what you do.
Re-fixing loose sandstone paving slabs
Only two slabs have worked loose over 10 years – and this happened in the first few months after laying. To fix these lift the tile to remove it and any loose matter. Do as little as possible. Paint the back of the tile and mating surfaces with PVA glue/sealer and replace the tile exactly in its original position. Re-apply the grout of choice.
Cleaning Sandstone Paving


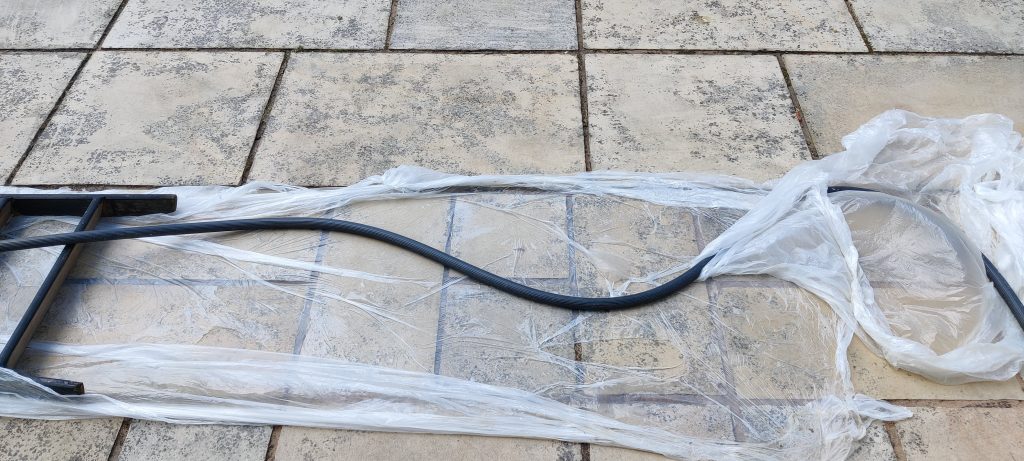
A reliable way of cleaning a patio annually is with a power washer using plain water. The special patio cleaning detergents weren’t effective enough to merit use here. The dilemma is that power washing will likely damage the grout and certainly remove any sealer you’ve applied. Otherwise you’ll live with it looking dirty.
The power washer is a K7 Karcher (bought after a K5 and a K3 previously) with a T-Racer patio attachment and yellow nozzles. On a smooth patio this works well. If I turn the T-Racer sideways I can rinse the mud off the tiles after cleaning them.
Over 5 years the patio has grown dirty as well as developing ‘black spot’, it’s a lichen that merits attention and once established this can partially be removed by power washing. Every other year, I’ll lock the pets indoors and ‘paint’ the patio with strong bleach. I use is ‘Sodium Hypochlorite 14%-15% – aka industrial strength bleach used as a disinfectant, for cleaning or swimming pools’. It costs £1/litre and 20 litres is more than enough to treat 100m of patio. To use it I first power wash the sandstone paving and then apply the bleach with a big brush and then leave it for as long as possible. I don’t dilute the bleach. An initial power wash saves the bleach some work and thus it goes further.
Supermarket bleach is less effective. My full strength bleach does a fine job of killing the lichen but not entirely removing the blackness. Among other things Paving expert (link below) suggests using a QAT (quaternary ammonium compounds) or benzalkonium chloride. The benzalkonium chloride costs somewhat more (eg £35 / 5L) than bleach and I dare not use anything not good for cats here!
The Robert Starkey bug called Thiobacillus is used in some concoctions. I might try this expensive idea further down the line.


There’s more to learn about cleaning sandstone at https://www.pavingexpert.com/maintain_03